How to Master the Sand Molding Process for Beginners?
The sand molding process is a fundamental technique in metal casting that many beginners find intriguing yet challenging. According to Dr. John Smith, an expert in casting technology, “Mastering the sand molding process requires patience and practice.” His insights emphasize the necessity for newcomers to approach this craft with both enthusiasm and a willingness to learn from mistakes.
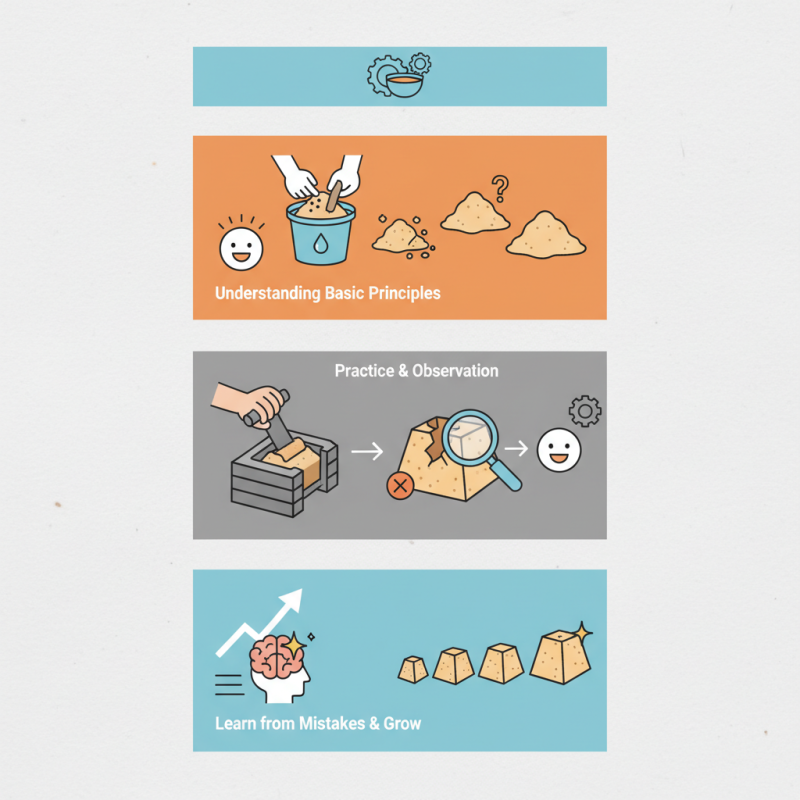
Understanding the sand molding process involves grasping its basic principles. A mold consists of sand, binder, and moisture. These elements combine to form a cavity that will shape the molten metal. However, achieving the right consistency can be tricky. Beginners often struggle with proper sand preparation. Too dry, and the mold crumbles; too wet, and it won’t hold shape.
Practicing the sand molding process might feel overwhelming at first. It demands attention to detail and a keen sense of observation. Each attempt may not yield perfect results. Learning to identify flaws in your molds is crucial. It can be disheartening, but reflection on what went wrong fosters growth. Embrace each failure as a step towards mastering this essential skill.
Understanding the Fundamentals of Sand Molding Process
Understanding the sand molding process is essential for beginners in metal casting. Sand molding uses a mixture of sand, clay, and water. This mixture forms a mold that can withstand high temperatures. The combination creates a strong, durable mold for various metal shapes.
Beginners often struggle with consistency. Achieving the right sand-to-water ratio can be tricky. A dry mix may crumble, while too much moisture can lead to a weak mold. It’s important to experiment and adjust these variables. Consider using different types of sand, as each has unique properties. Try mixing in a small quantity of clay to enhance binding strength.
Attention to detail is crucial. Ensure the pattern used to create the mold is clean and precise. Any imperfections will reflect in the final casting. Once the mold is prepared, pouring metal requires focus and control. Perfecting this process takes time and practice. Learning from mistakes will help improve your skills.
Essential Tools and Materials Required for Sand Molding
Embarking on the sand molding process can be rewarding. To start, you need some essential tools and materials. First, a sturdy mold box is crucial. It holds the sand in place while shaping your object. A trowel is another must-have. It helps pack the sand tightly in the mold. Try to keep the sand even. An uneven surface may lead to defects in your finished piece.
Next, consider the type of sand you use. Fine sand is ideal for detailed designs. Coarser sand may create more texture but lacks precision. Water can also play a significant role. Mixing sand with a small amount of water helps it stick together. However, adding too much can make the mold weak. Always test your sand mixture before starting.
Don't forget safety gear. Gloves protect your hands. A mask can help with dust. Sometimes, mistakes happen. A poorly packed mold can result in cracks. Reflecting on these errors is key to improvement. Learning from each attempt strengthens your skills. Sand molding is as much about practice as it is about equipment. Stay curious and keep experimenting!
Step-by-Step Guide to Creating a Sand Mold
Creating sand molds may seem straightforward, but mastering the process requires practice and attention to detail. To make a sand mold, start by selecting the right sand. Not all sands are created equal. Choose a mix that retains moisture yet has good flowability. This helps create sharper mold edges. According to industry reports, approximately 70% of foundries use green sand for molding due to its balance of cost and performance.
Next, prepare the mold by compacting the sand around the pattern. Ensure even distribution to prevent weaknesses. A quality mold has no cracks or weak spots. Imperfections often lead to casting defects. It is critical to adjust your sand mixture based on humidity levels. Too dry can lead to crumbles; too wet creates clumps. Balancing moisture can take time.
Once the mold is ready, let it sit to firm up. Many beginners rush this step. The core can shrink if not allowed to set properly. Use proper breathing techniques to ensure compliance with safety standards while working with materials. Reflect on your results after each project. Learn from missteps. Every casting that doesn't meet expectations is a valuable lesson. Engaging with community forums can also provide insights into different approaches and tips that make the process smoother.
Common Mistakes to Avoid in Sand Molding
Sand molding is a critical process in metal casting, yet beginners often stumble on common pitfalls. One major mistake is using the wrong type of sand. Not all sands are created equal. According to a report from the American Foundry Society, using the right sand mix can improve casting quality by up to 30%. Fine sands can lead to defects. Coarse sands, on the other hand, might not hold shape well.
Another frequent error is inadequate moisture control. Too little moisture leads to cracks; too much can cause a sticky mess. An ideal moisture level hovers around 5-8%. Maintaining this balance requires constant monitoring. Beginners often overlook this, resulting in failed molds. Adequate time is needed for sand to cure properly, yet impatience often leads to rushing the process.
Improper ramming techniques are also common. Inconsistent ramming can cause weak spots in the mold. Reports indicate that uniform density is crucial, affecting casting accuracy by as much as 20%. Practice makes perfect, but many newcomers fail to observe how their technique impacts the final product. Learning to identify these mistakes can significantly improve the sand molding process and foster better outcomes.
How to Master the Sand Molding Process for Beginners? - Common Mistakes to Avoid in Sand Molding
| Common Mistakes | Description | Tips to Avoid |
| Inconsistent Sand Mixture | Using different sand types or incorrect ratios leads to weak molds. | Always measure and mix sand and binder consistently. |
| Neglecting Moisture Control | Too much or too little moisture can impact mold strength. | Test sand moisture before starting and adjust as necessary. |
| Improper Packing Techniques | Incorrect packing can result in air pockets and weak spots. | Use a consistent force and motion when packing the sand. |
| Ignoring Temperature Effects | High temperatures can dry out sand too quickly. | Work in a controlled environment to manage temperature. |
| Skipping the Release Agent | Not using a release agent can cause molds to stick. | Always apply a suitable release agent before pouring. |
Tips for Improving Your Sand Molding Skills
Mastering the sand molding process is an exciting journey for beginners. To improve your skills, start with the basics. Choose the right sand type. Consider factors like grain size and moisture content. A fine, well-structured sand allows for better detail in your molds. Too much moisture can lead to crumbling. Aim for a balance that works for you.
Practice is essential. Begin by creating simple shapes. Experiment with techniques like squeezing and tapping the sand. Each method has its pros and cons. Squeezing might lead to uneven surfaces. Tapping can create air pockets that weaken the mold. Reflect on these outcomes. Carefully analyze areas of improvement. It’s okay to make mistakes; learning from them is vital.
Set realistic goals for progression. Challenge yourself with more complex designs over time. Document your experiences. Take notes on what works and what doesn't. This self-reflection fosters growth. Embrace imperfections; they often lead to the best learning moments. Stay patient and persistent, and your skills will blossom with practice.
